pylon C++ API: Significantly Reduce Development Time
With the pylon C++ API, developers save 80% of development time when programming in C++ compared to other SDKs. This tutorial shows you how to use just a few lines of code in the pylon Viewer to access cameras and configure them for rapid prototyping with initial image acquisition. We provide supporting tools and sample code for configuration, processing, and optimization. Your finished code is easily portable to other operating systems by using the same API.
Reading time: approx. 10 Minutes
Prerequisites
Please note the following points to quickly become productive with the pylon C++ API and make effective use of the provided examples and tools.
Solid knowledge of C++: The API is technically challenging and requires a good understanding of C++ and object-oriented programming.
Installed pylon software (SDK): Includes the C++ API, documentation, programming guides, tools (e.g., pylon Viewer), and numerous sample programs
Supported operating systems: pylon is available across multiple platforms (Windows, Linux, Linux ARM, macOS), so that a suitable development environment should be set up.
Access to compatible camera hardware (optional, but recommended): A supported camera is helpful for practical exercises and tests, but it is not required to get started.
Help and sample code
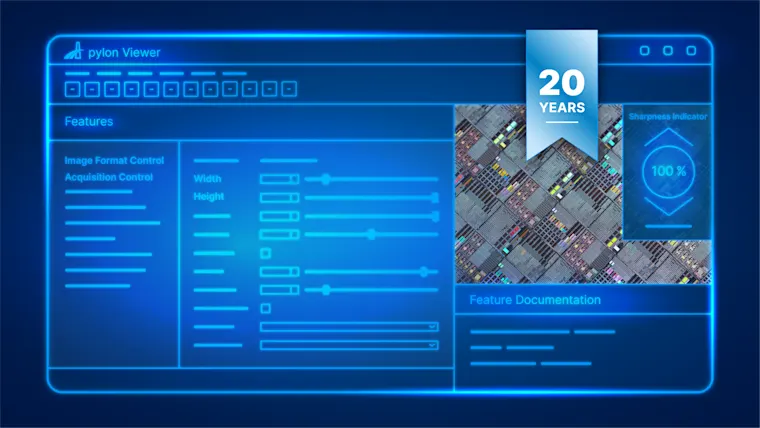
The pylon Viewer for development and debugging:
Display of all camera parameters, including their properties and current values
Context menu: Right-click Parameter → Get Help → Product Documentation→ copyable complete code
In addition, you'll find the following in the Help menu:
C++ Programmer’s Guide – Your development assistant for various programming languages
pylon SDK Samples Manual, featuring detailed descriptions of available sample code for camera parameters and typical use cases — For easy integration of code into your own application
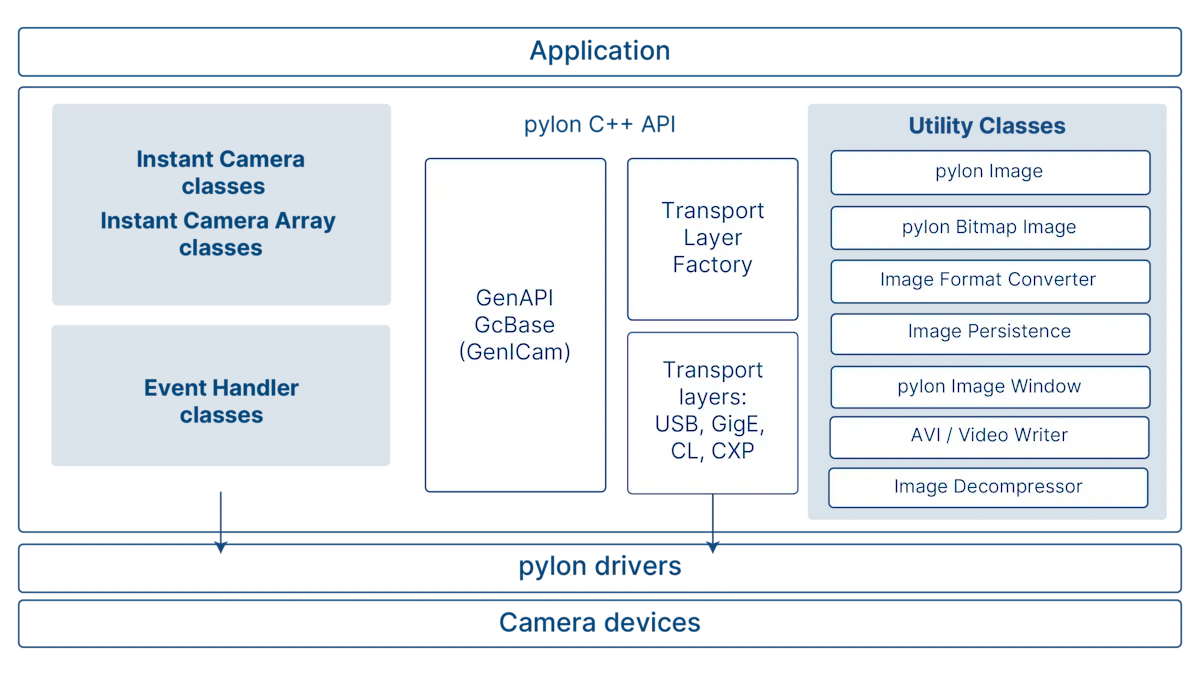
pylon C++ API architecture
The pylon C++ API consists of several modules:
pylon Instant Camera Classes: Core component of the API → Access to camera object and functionalities for both single-camera and multi-camera systems (Instant Camera Array Classes)
Event Handler Classes: Configure cameras with minimal code, process acquired images, and display camera events
GenICam implementation: Display all current camera features in pylon
Transport Layer: Connection to pylon drivers → Enumerate cameras, create camera objects
General Transport Layer Factory
Specific, interface-related Transport Layers
Utility Classes for working with images: Display and save images with a single line of code, convert pixel formats, use encoders for video recordings, and decompress images
Using GenICam features in pylon
The functionality of each of our cameras is described in one (or more) GenICam XML files containing 400 to 500 features.
When the camera is opened, pylon automatically downloads these XML files to the PC and dynamically generates a feature map (INodeMap) from them. This map provides structured and standardized access to all features supported by the camera.
Centralized camera access with Instant Camera Classes
Using the two camera classes, you can access camera functionalities through the camera object: image acquisition, camera parameters, camera connection, and buffer handling. You do not need to set anyparameters to do this. You will get your first image with just a single line of code. Multi-camera systems are supported via a single camera array object (CInstantCameraArray).
CInstantCamera
Fully generic class based on GenICam, the basis of the pylon Viewer
Does not know about specific camera interfaces or parameters
Camera parameters are accessed via a dynamic INodeMap
Works with all cameras, interfaces, and parameters
Advantages: Requires fewer pylon updates; future-proof for new interfaces or camera types
Disadvantages: More complex programming, higher short-term development costs
CBaslerUniversalInstantCamera
Generated and updated with every pylon release → based on the latest GenICam XML files for all Basler cameras
Knows and supports the latest Basler cameras, interfaces, and parameters
Native parameter access via the class
Simpler camera configuration through a static API (static members for camera parameters) and IDE auto-completion
Advantages: Prototyping and camera configuration are easier and faster by direct access to parameters; reduced development effort
Disadvantages: Regular pylon updates for new features
Sample code for initial image acquisition
Watch the video to see how you can configure all the settings with just a few lines of code to acquire your first images using a single camera or multi-camera systems:
Enumerate, open, and configure cameras
Manage buffers automatically
Access multiple cameras through a single camera object
For more information and code examples, see the C++ Programmer's Guide.
Transport Layer for camera enumeration
You can enumerate cameras and create camera objects using generic or specific Transport Layers. To access camera parameters, you can use the two methods described above via the two Instant Camera Classes.
Transport Layer Factory(CTlFactory)
Generic entry point
Enumerate cameras regardless of the interface
Create specific Transport Layers
Create camera objects as pylon Devices
Transport Layers (ITransportLayer)
Interface-specific Transport Layers (e.g., GigE Vision)
Enumerate cameras for a specific interface
Create camera objects as pylon Devices for the existing Transport Layer
Retrieve interface-specific parameters (e.g., GigE Action Commands)
Sample code for camera enumeration
In this video, you'll learn how to use just few code to enumerate cameras using different techniques and create a camera object, using both the generic and specific Transport Layer.
It is also possible to enumerate cameras by their IP address (GigE), user ID, or serial number.
For more information and code examples, see the C++ Programmer's Guide.
Generic parameter access
(CInstantCamera)
Load the INodeMap and create the nodes (i.e., camera parameters) from it
Flexible and future-proof when integrating new interfaces and functionalities
Own effort involved in searching for parameter information and properties
Built-in help functions reduce the amount of source code that needs to be written
Native parameter access
(CBaslerUniversalInstantCamera)
Direct access to common camera parameters (open the camera first)
No need to create INodeMaps
Get started quickly and easily
Sample code for camera parameters
The video explains how to access camera parameters using the generic and native approach with sample code.
For more information and code examples, see the C++ Programmer's Guide.
Event Handlers and Utility Classes
Event handlers are used to configure cameras with minimal code, process acquired images, and display camera events.
Utility classes perform a wide variety of tasks. In this video, we’ll introduce you to three of them.
Event Handler Classes
The Instant Camera Classes contain three predefined Event Handler Classes.
Configuration Handler: Camera configuration, e.g., image acquisition or trigger modes (4 are preconfigured: single-frame and continuous image acquisition, software trigger, GigE Action Commands)
Image Event Handler: Processing acquired images
Camera Event Handler: Display of camera events, e.g., end of exposure
This video shows you how to configure a camera with few lines of code successfully.
Configuration Handlers can be reused for similar use cases. Since they are provided as header files, you can simply copy and modify the code to create your own Configuration Handlers, e.g., for hardware triggers.
Utility Classes
CPylonImage
Manage buffers automatically (size, lifetime)
Use own or external buffers
Save or load common image formats (BMP, TIFF, JPG, PNG, RAW)
Easily edit 2D images and regions of interests (e.g., thumbnails of defects)
CFeaturePersistence
Save the entire camera configuration and easily load it into other cameras
CVideoWriter
Record MPEG-4 videos with minimal source code
Write acquired images (image sequences) to a video file
In this video, we introduce three Utility Classes. For information on the other classes, see the SDK examples (accessible via the Help menu).
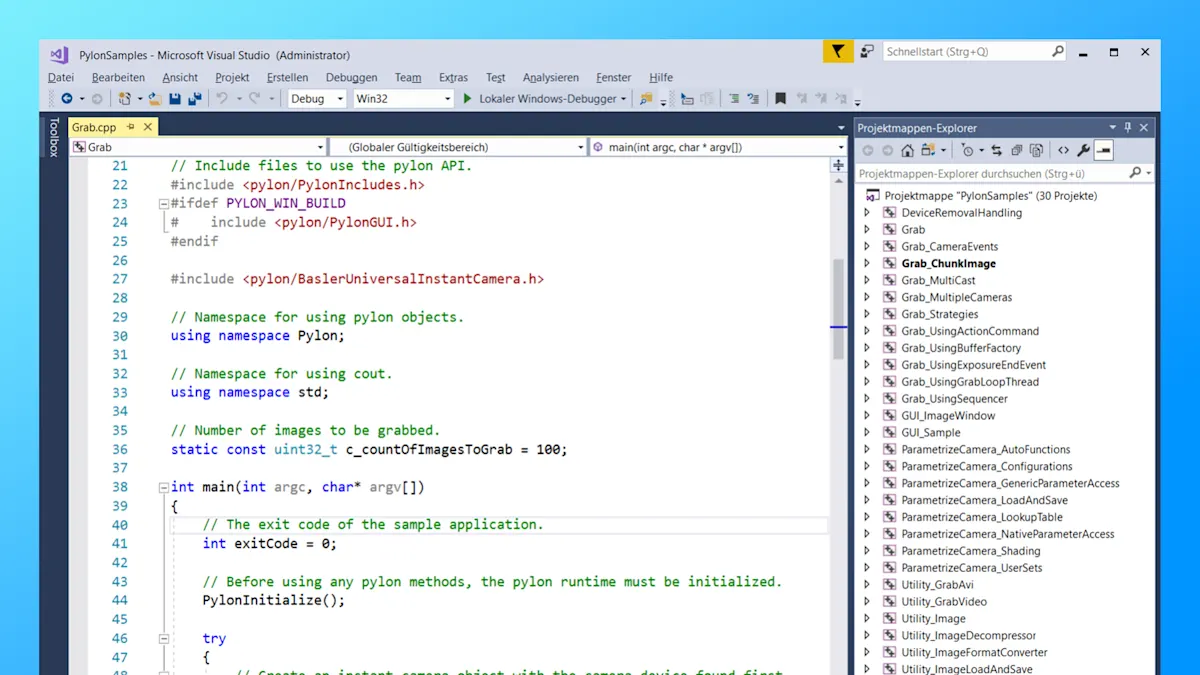
Demo: Setting up a pylon Visual Studio project
In this demo, you'll learn how to set up a pylon Visual Studio project from scratch:
Find, open, and configure a camera (or camera emulation)
Acquire, display, and save images in just five minutes
The C++ Programmer’s Guide (accessible from the Help menu) will guide you through the process step by step.