Bringing it All into Focus: Finding the Right Lens for Your Vision System
A sharp image requires more than just a good camera — selecting the right lens is vital for high-quality imaging. Lenses differ not only in resolution, focal length, and size, but also in their design. In the following article, we will show you how to pick the perfect lens for your application.
Last updated: 02/02/2026
Reading time: approx. 14 Minutes
Steps for Lens Selection
Check camera mount
Choose image circle matching the sensor size
Determine focal length based on field of view and working distance
Match resolution to sensor
Consider aperture, working distance, spectral range, and special requirements
What types of lenses are there
Basically, different lens types are distinguished both by their design and the adjustability of the focal length.
Classification of lenses by their optical design
Entocentric lenses are used in a large proportion of machine vision applications and produce a perspective image – similar to the human eye; Distant objects appear smaller, nearby objects appear larger. The human eye itself is an example of entocentric optics.
Telecentric lenses are particularly suited for applications that require true-to-scale images without perspective distortion.
Distinction by adjustability of focal length and focus ring
Lens Type | Focal Length | Focusing | Typical Application | Special Features |
Fixed Focus Lens | Fixed | Fixed (Monofocal) | Industrial cameras, older mobile phones | No adjustment possible |
|---|---|---|---|---|
Fixed Focal Length Lens | Fixed | Manually or automatically adjustable | Machine Vision, industrial optics | Constant angle of view, high image quality |
Varifocal Lens | Variable | Requires readjustment after changing focal length | IP cameras, surveillance | Flexible, focus must be readjusted |
Zoom Lens | Variable | Focus is maintained when zooming | Consumer cameras, special applications | Automatically focuses when adjusting the focal length |
In the following, we will focus on entocentric lenses, as they are used in a large proportion of Machine Vision applications.
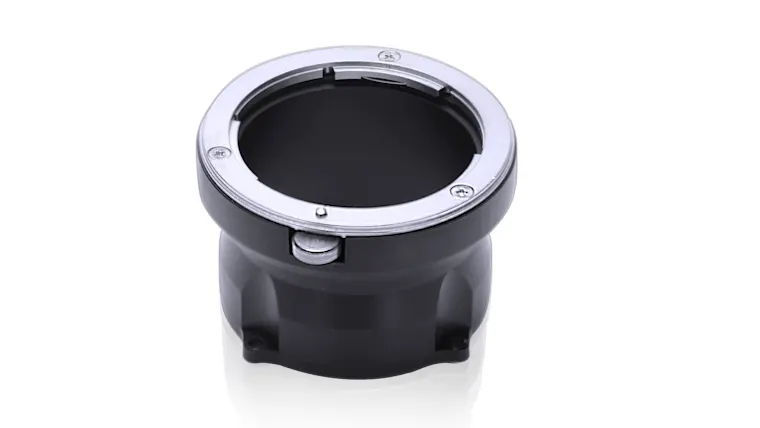
Selecting the right mount for the correct mechanical connection to the camera
The search for a lens begins with a look at your camera. What type of lens mount does it have? This mount connects the camera body firmly to the lens.
Overview of mounts for machine vision cameras
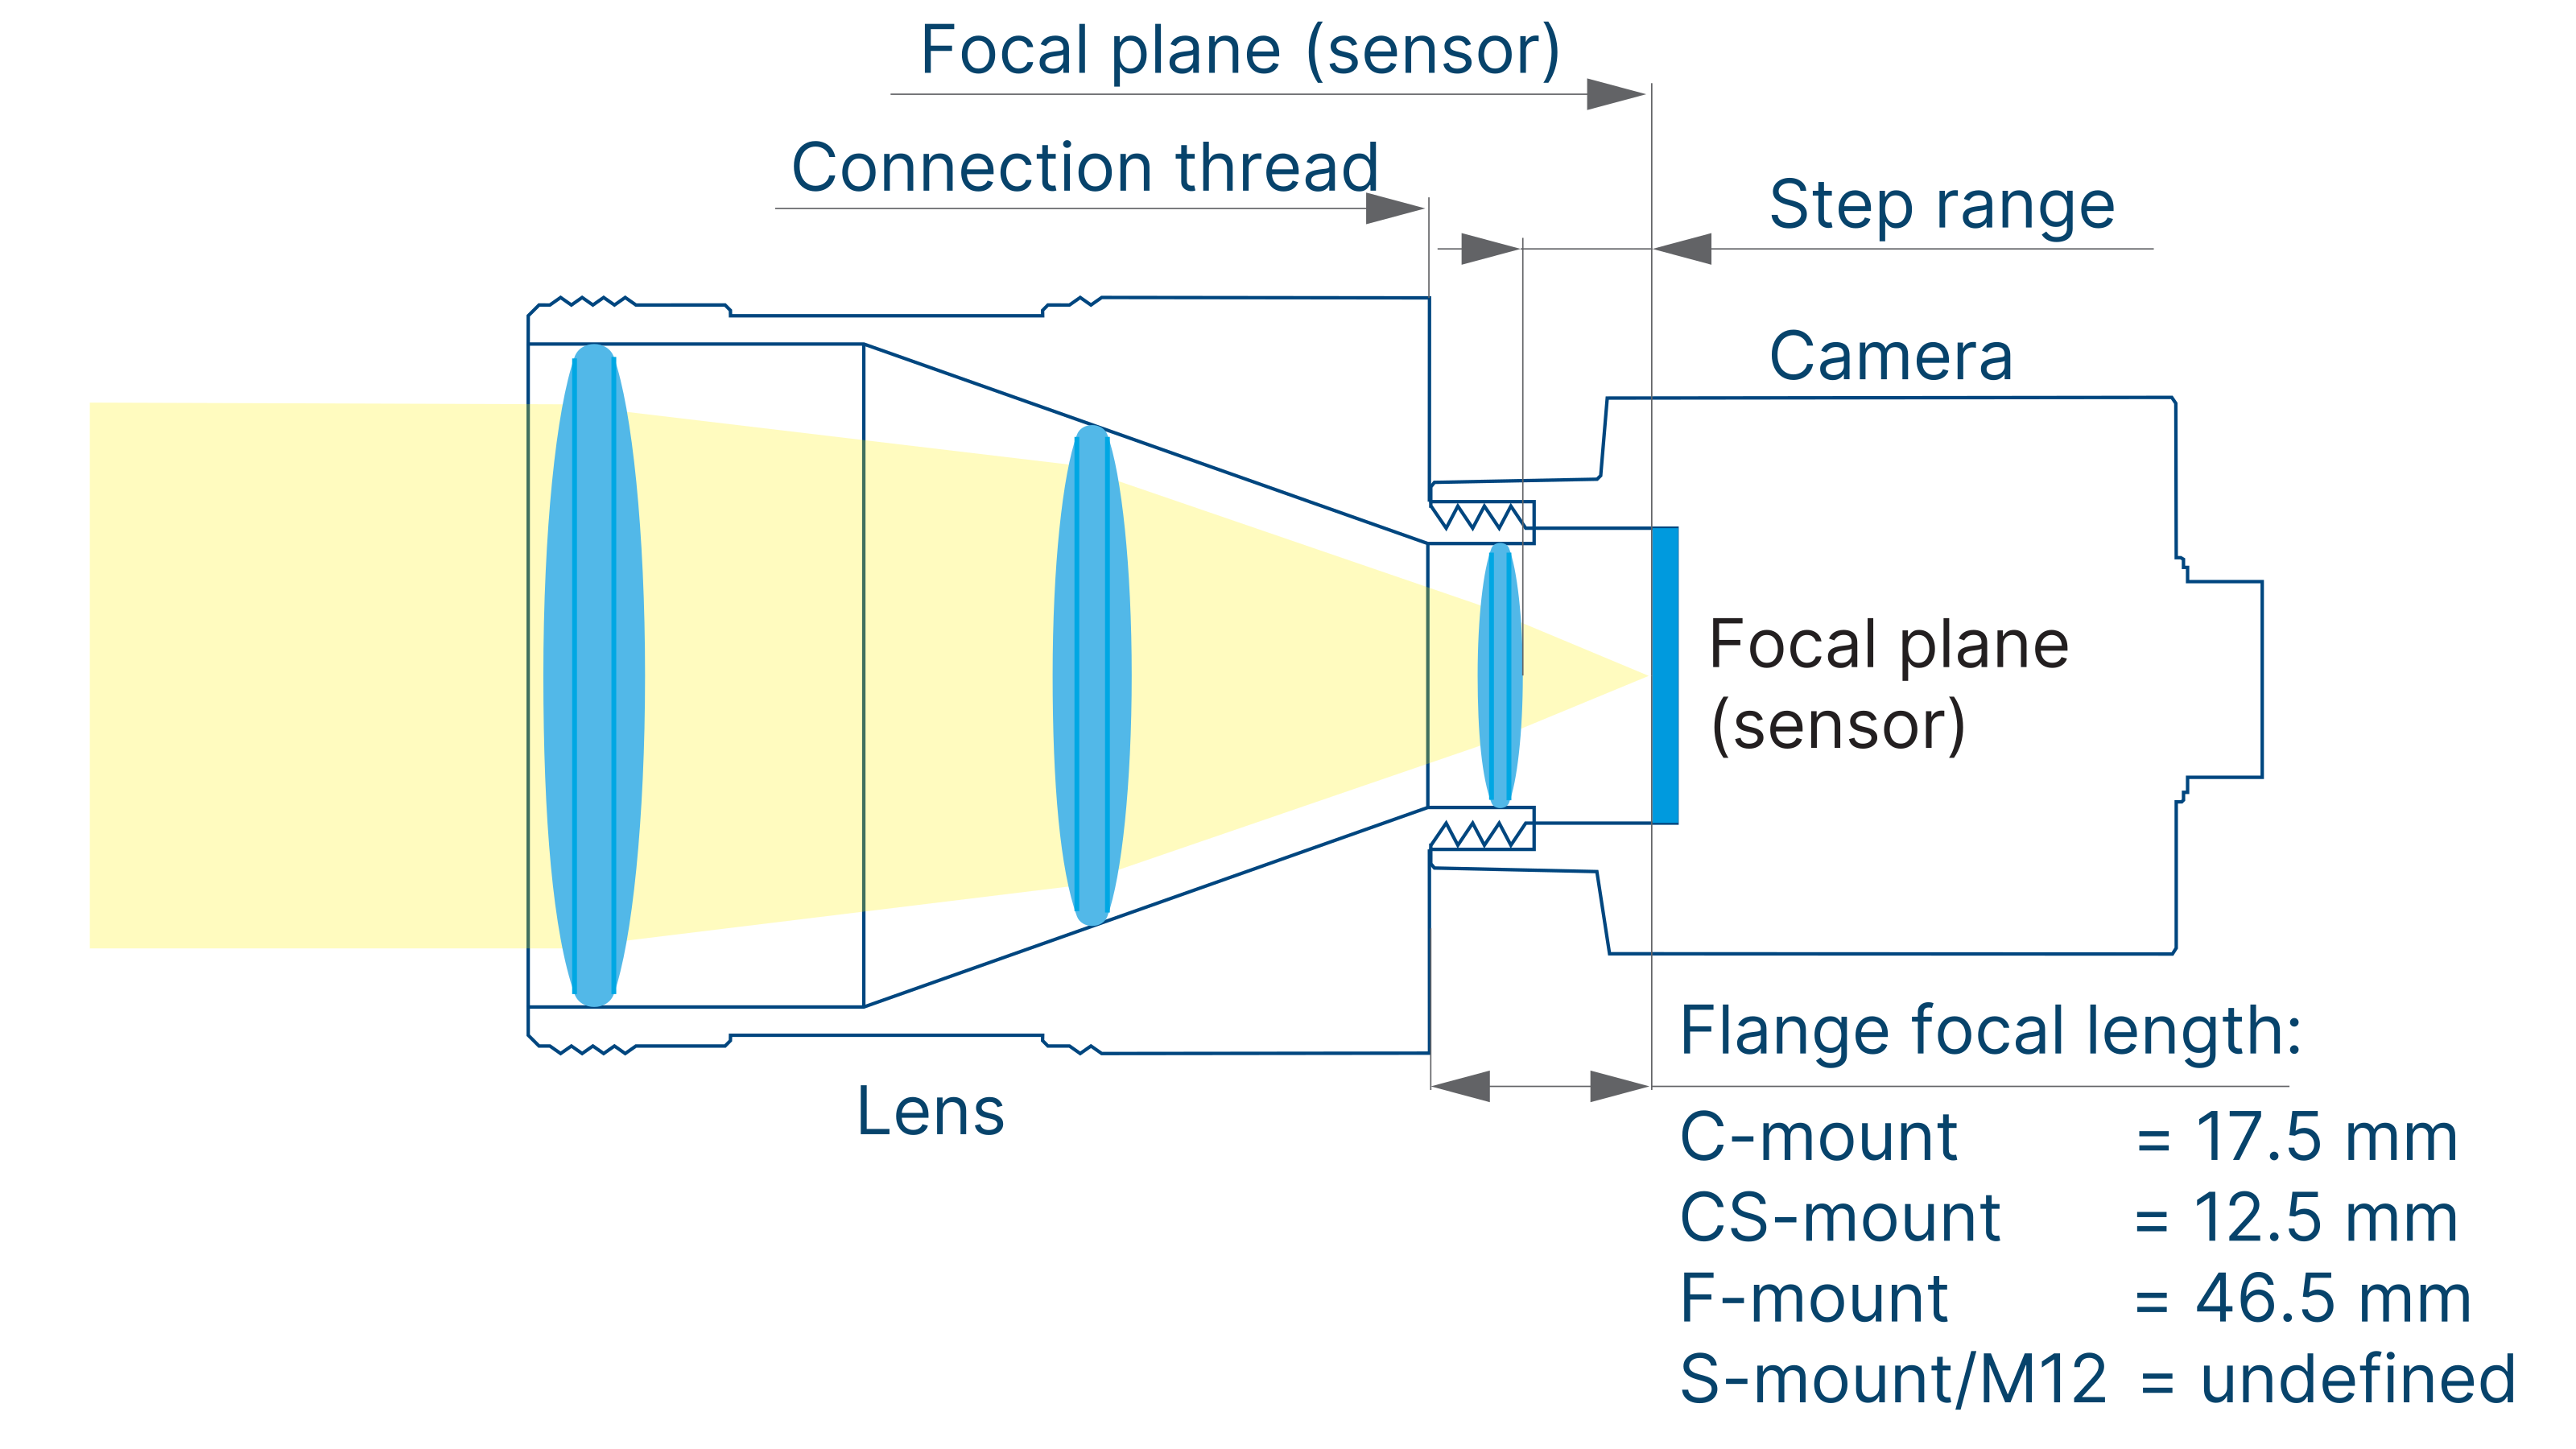
What is the flange focal distance?
The flange focal distance is the distance between the lens mounting surface and the camera sensor. A lens is optimized in terms of its optical performance for a specific flange focal distance, making it vital to use the same specification.
It is defined differently depending on the lens mount. For example, the C-Mount has a flange focal distance of 17.526 mm.
Mechanical differences of mounts
Mechanically, two types of connections are distinguished:
Bayonet mount: Locking rotary closure, very stable, only used for F-mounts
Screw thread: screwed, compact
Matching the image circle diameter to the sensor
The image circle is the sensor area that is exposed evenly and without edge shading (vignetting). The mount of a lens only provides limited information about the image circle. This specification can be found in lens datasheets under the designation "Maximum image circle."
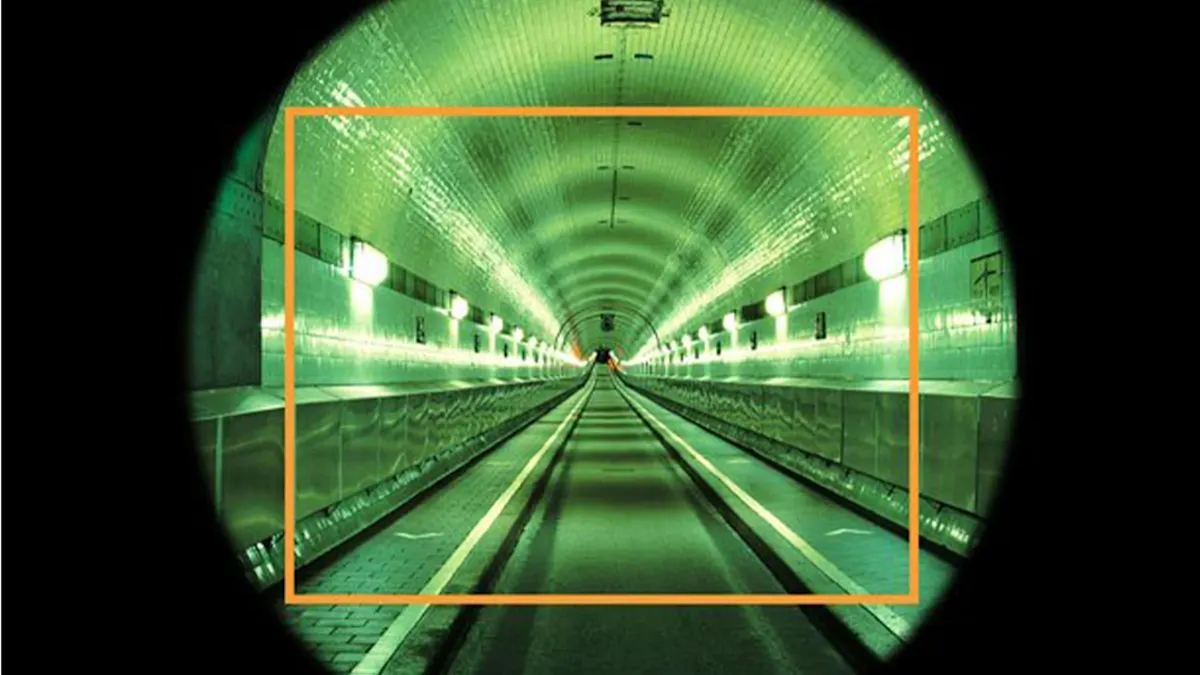
Image circle too small
The image circle diameter is specified in inches, just like the sensor size. A 1/3″ C-mount lens is ideally suited to a camera with a 1/3″ sensor. In this case, the image circle is used to its full potential. With a larger sensor (e.g., 1/2″), the same lens would cause vignetting if it is only designed for a 1/3″ sensor.
Image circle too large
If a 2/3″ lens is used on a smaller 1/3″ sensor, no vignetting occurs and image sharpness remains high all the way to the edges. However, since a large portion of the image circle remains unused and larger lenses are more expensive, a smaller lens is usually more cost-efficient for smaller sensors.
Why resolution and pixel size matter
A high-resolution vision system requires not only a sensor with many megapixels, but also a lens that can actually reproduce this resolution. The resolution of a lens determines whether fine details remain visible – or are lost. In the following sections, you will learn why resolution and pixel size must be considered together and how you can evaluate the performance of a lens.
Resolution and line pairs per millimeter
The resolution of a lens is specified in line pairs per millimeter (lp/mm). This value describes how many fine lines can still be clearly separated from each other in one millimeter. The higher this value, the sharper the detail depicted. A sensor can only exploit its full potential if the lens resolution is high enough.
MTF curves: Sharpness from the center to the edge
The MTF curve (modulation transfer function) can be used to display the resolution of a lens across the entire image field — from the center of the image to the edge. The curve is based on a test chart with black and white lines whose distance gets smaller and smaller. Manufacturers often provide MTF curves on request or in data sheets since they help to objectively evaluate the actual lens performance.

Pixel size and lens selection in practice
The resolution of the lens must match the pixel size of the sensor – only then will every pixel be rendered sharply. For example, with a 5-megapixel sensor, you need a lens that can actually resolve those 5 MP. Some lenses specify the supported sensor resolution directly in megapixels. This simplifies the selection process, but does not replace checking technical specifications such as lp/mm or MTF curves.
Only when sensor resolution and lens performance are well matched can the full potential of a machine vision system be realized.
Interaction between focal length & sensor size
The focal length refers to the distance between the optical center of a lens and the focal point. At the focal point, all rays of parallel incident light converge. Because of this, the focal length f depends on the refractive power of the lenses and is specified in millimeters.
Focal length and image effect
The longer the focal length, the greater the telephoto properties of the lens. The enormous lenses we may know from sports photographers or paparazzi therefore have significantly longer focal lengths than the lenses on consumer cameras. Wide-angle and fisheye lenses accordingly have shorter focal lengths.
Typical focal lengths
Focal Length (mm) | Lens Type | FOV with 2/3" Sensor | FOV with 1/2.5" Sensor |
2 | Fisheye | very large | large |
|---|---|---|---|
6 | Wide Angle | large | normal |
12 | Normal | medium | small |
35 | Tele | small | very small |
100 | Super Tele | very small | extremely small |
Calculating the focal length
The focal length is determined by the sensor width, the object width, and the working distance. Most lens vendors offer calculation tools on their websites that allow you to calculate the focal length.
Alternatively, the focal length can be calculated using this formula:
Choosing the right focal length
Not every calculated focal length is available as a lens. Common values are 4, 6, 8, 12, 16, 25, 35, 50, 75, and 100 mm (fixed focal lengths). If your value falls in between, you should generally choose the shorter focal length for a larger field of view and higher resolution. Zoom lenses are flexible but typically offer lower image quality than fixed focal lengths.
Example images for various focal lengths
The image comparison shows how the image section decreases and the zoom effect increases as the focal length increases, which is crucial for choosing the right lens. The focal length must always match the sensor size and the specific application setup.



Aperture & lighting conditions
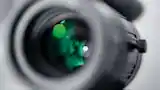
The selection of the camera aperture has a direct impact on the image quality and the brightness. The F-number (or F-stop) is the ratio of the focal length over the diameter of the aperture and specifies how wide the aperture is opened.
F-number and image quality
A high F-number means a smaller aperture - less light falls on the sensor. A wide-open aperture is advantageous in low-light conditions since more light is let through.
Smaller apertures increase the depth of field and reduce aberrations, such as vignetting, but can lead to diffraction blurring. This is caused by light diffraction at the edge of the aperture and reduces the image quality.
Each lens, therefore, has an optimum F-number as a compromise between maximum depth of field and minimum diffraction.
Conclusion: Select the aperture so that it matches the lighting situation of your application — neither too wide nor too stopped down.
Working distance / magnification ratio
Most lenses for industrial machine vision are optimized for a working distance of approximately 50 cm. This distance corresponds to the typical distance between the camera and the object in many industrial applications.
Standard machine vision lenses deliver the best image quality at magnification ratios between 1:1 and 1:10 (ratio of sensor size to object size). This range is often limited by the minimum object distance (MOD) of the lens.
Using so-called extension rings, the working distance, and thus, the magnification can be increased. However, standard lenses are not designed for these higher magnifications. Image quality typically suffers significantly as a result. For the best results, extension rings should be avoided wherever possible.
If higher magnification ratios (greater than 1:10) are required, the use of macro lenses is recommended. These are specifically designed for the range of approximately 1:10 to 1:1.
For even greater magnifications (from approximately 5x, i.e., a ratio of ≥ 5:1), microscope objectives are used.
Spectral range
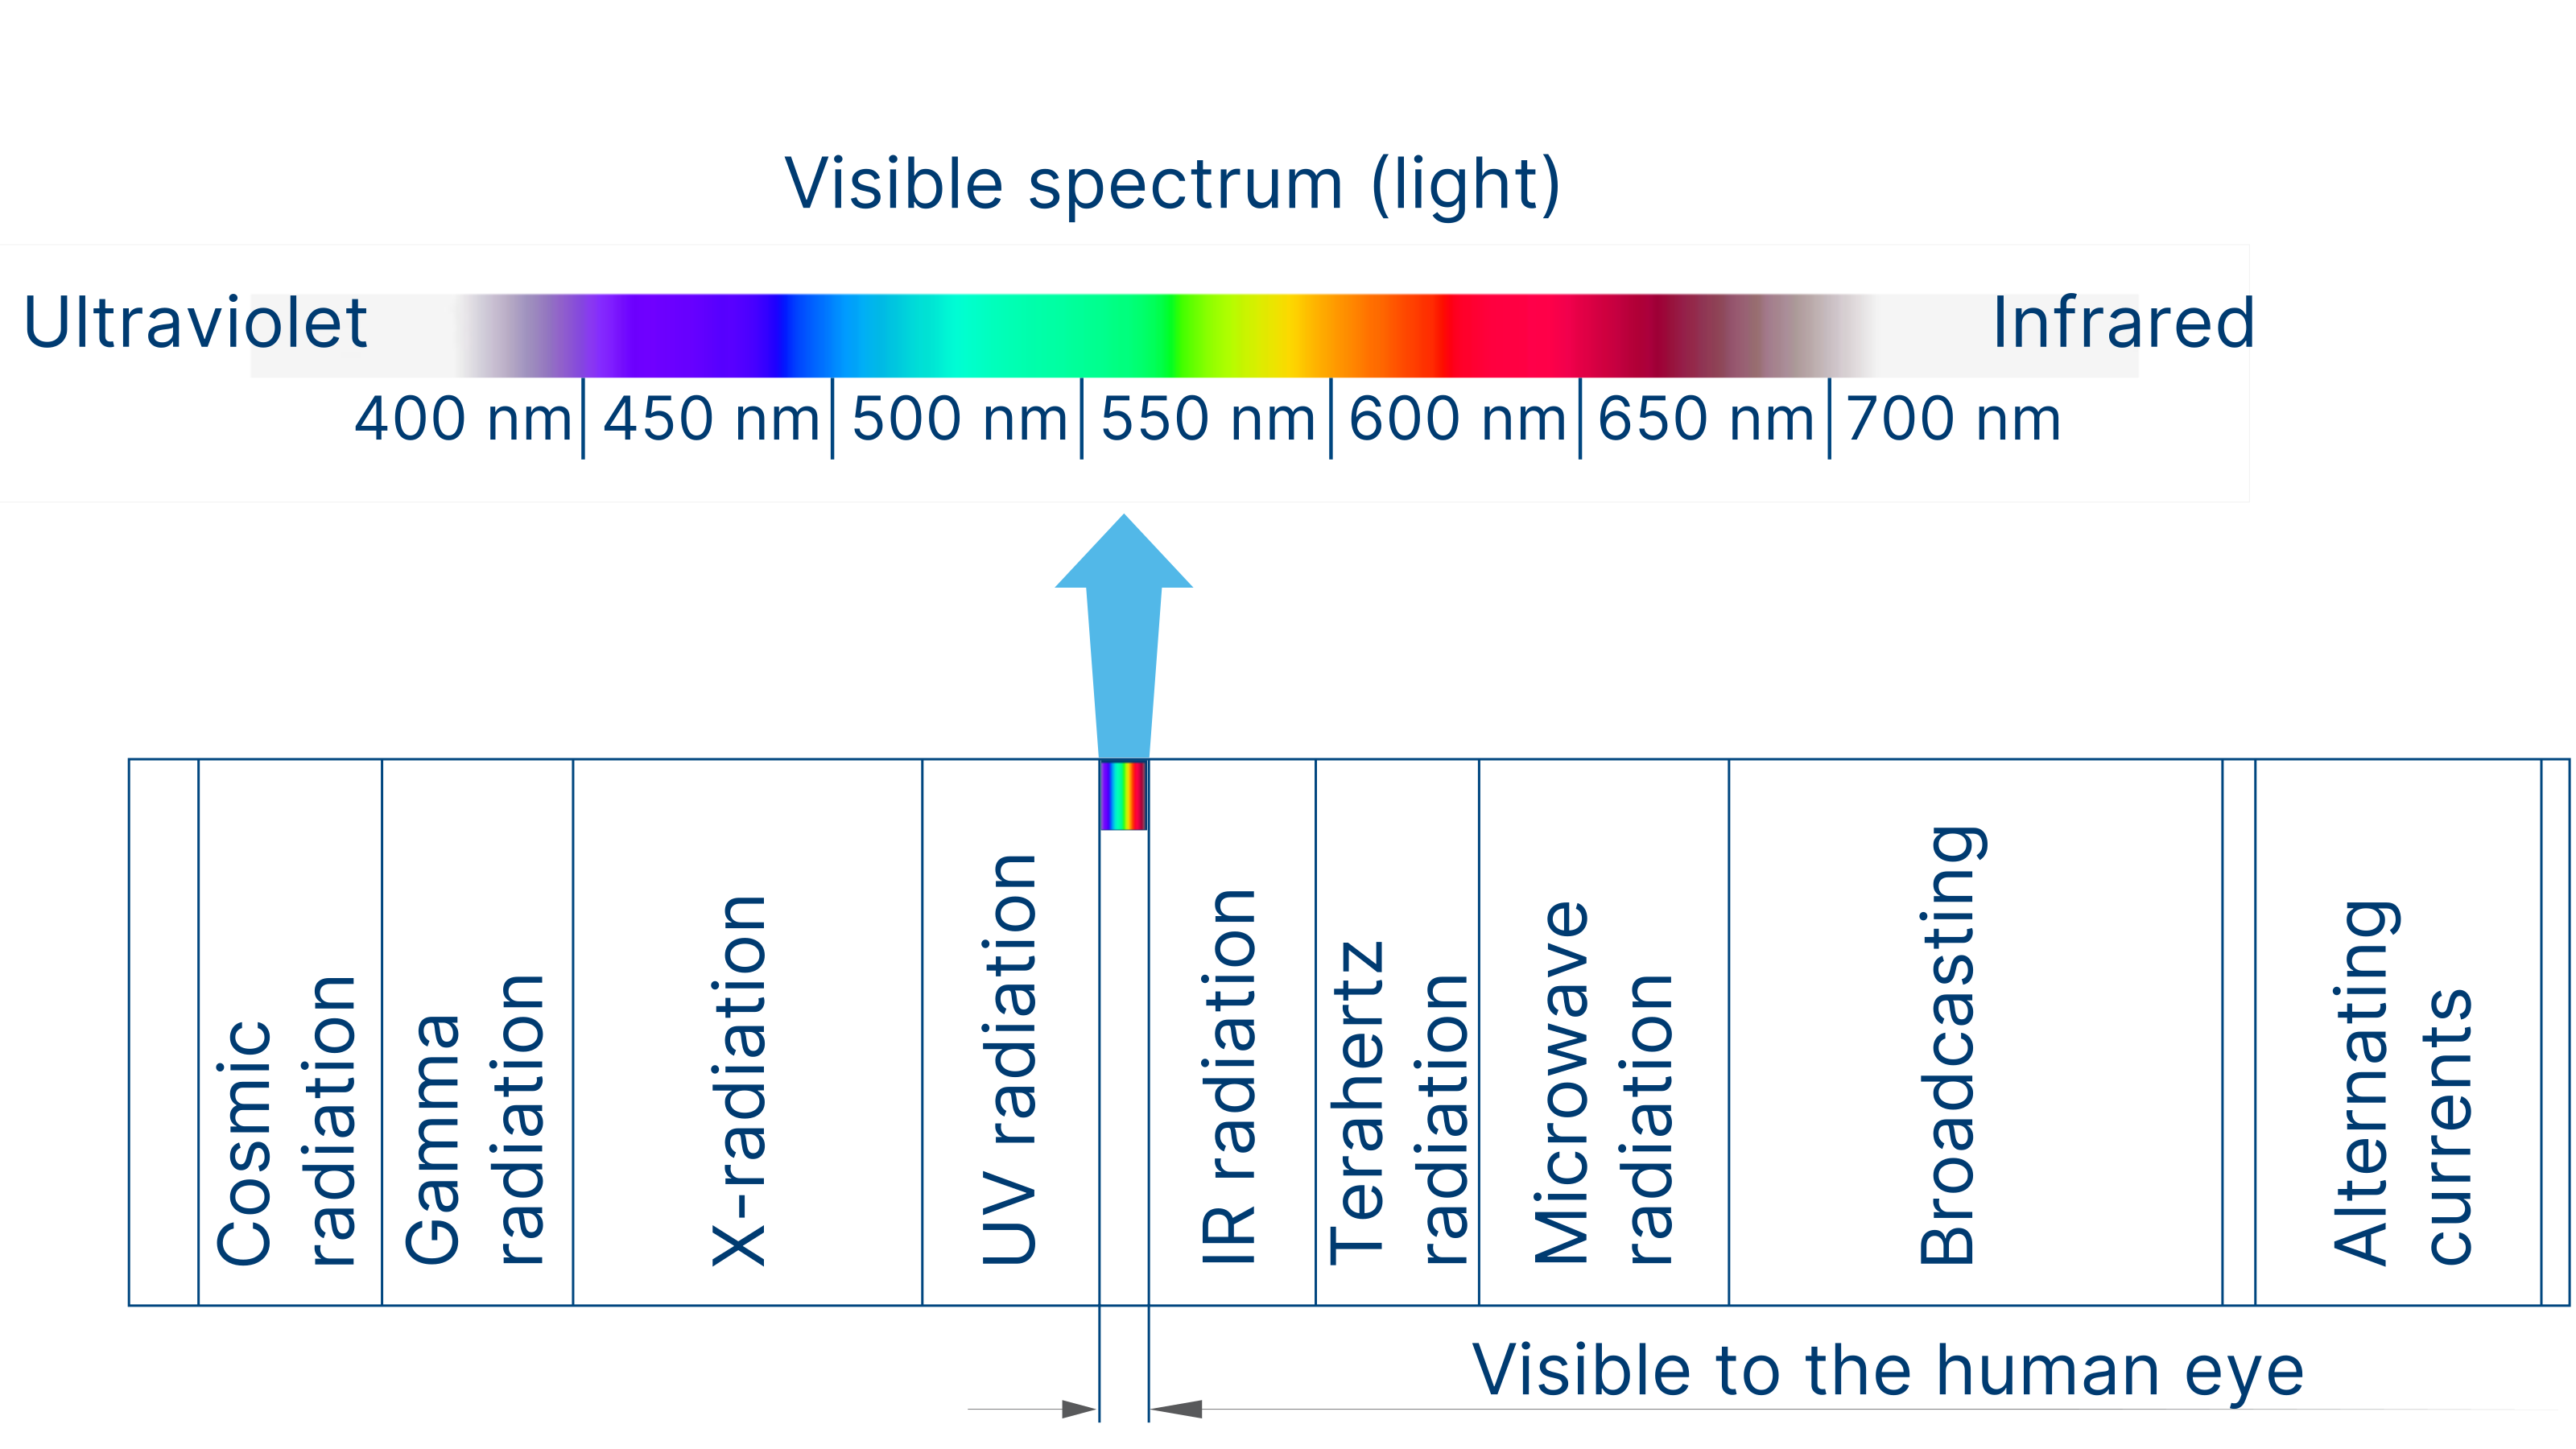
Conventional lenses are optimized for visible light, meaning wavelengths between 400 and 700 nm. Infrared (IR) light is usually reproduced out of focus by these lenses. In pure IR applications, this blurriness is often still acceptable.
However, if both visible light and infrared light need to be imaged sharply at the same time, the lens must cover a significantly larger wavelength range of 400 to 1000 nm. This requirement either makes the lens more expensive or leads to compromises in other performance parameters.
Lens selection checklist
Before deciding on a lens, check the following points:
Lens mount: Determines which mount the lens must have in order to attach it securely to the camera body.
Image circle & sensor: Ensure the lens image circle matches the camera sensor size ("Maximum image circle" in the datasheet).
Online selectors: Use manufacturers' online lens selectors to calculate the appropriate focal length.
Lens type: Choose between variable or fixed focal length depending on your needs.
Resolution: Check whether the lens can actually resolve the sensor resolution – high megapixels alone are not sufficient.
Aperture value: Familiarize yourself with aperture values and types ("Maximum relative aperture" in the datasheet).
Spectral range: Define whether the lens should capture visible light only or also IR light.
Minimum distance: Pay attention to the minimum object distance (MOD) between the camera and the object, as this affects the magnification and image quality.
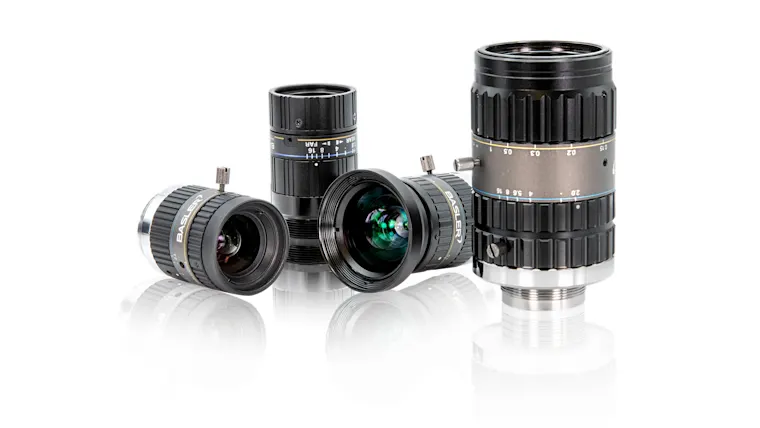
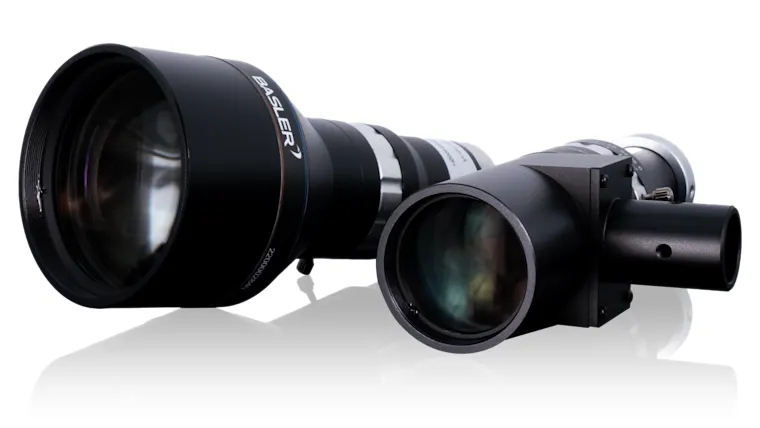
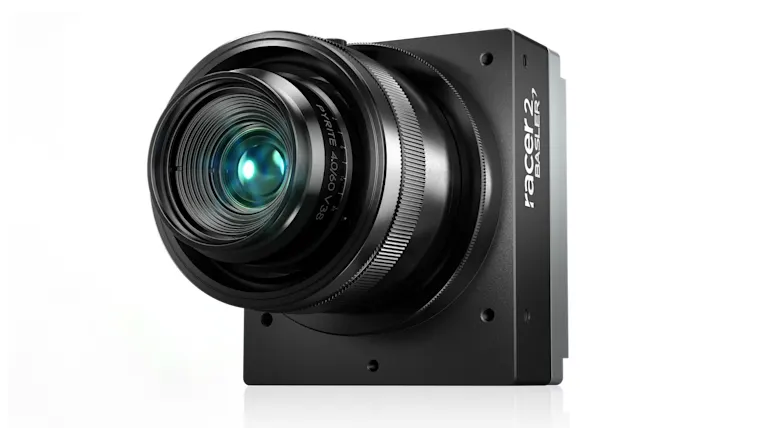
Our lenses & matching accessories
Take advantage of our broad portfolio and choose the right product for your vision system. Our lens selector helps you easily choose the right lens for your overall system.